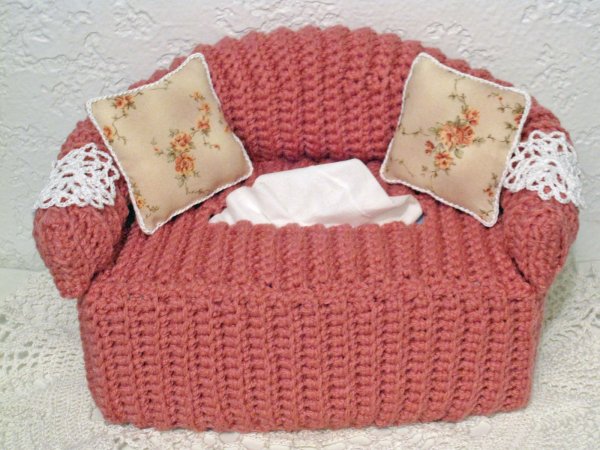
Crafting Delight: How to Make Yarn Dolls for Your Nursery or Christmas Tree
Here is a simple tutorial on how to make a yarn doll:
**Materials:**
* Yarn in your desired color
* A small amount of stuffing
* Needle and thread
* Optional: Embellishments, such as buttons, beads, or felt
**Instructions:**
1. Cut a piece of yarn about 12 inches long.
2. Fold the yarn in half and tie a knot in the center.
3. Wrap the yarn around your fingers to form a ball shape.
4. Sew the knot closed.
5. Stuff the doll with batting or other stuffing material.
6. Sew up the opening.
7. Decorate the doll with your desired embellishments.
**Tips:**
* For a more realistic look, use different colors of yarn for the hair, skin, and clothing.
* You can also use different types of yarn, such as acrylic or wool, to create different textures.
* Be creative and have fun with your decorations!
**Once your yarn doll is complete, you can display it on your nursery shelf or Christmas tree. They make great gifts for friends and family, too.**
Here are some additional tips for making yarn dolls:
* Use a tapestry needle to sew the doll together. This type of needle has a large eye, which makes it easier to thread yarn through.
* When stuffing the doll, be sure not to overstuff it. This could make the doll difficult to sew up and could also cause it to become misshapen.
* If you are using embellishments, be sure to sew them on securely. You don't want them to come loose and fall off the doll.
With a little bit of time and effort, you can easily make your own yarn dolls. These adorable little creatures are sure to bring a smile to everyone's face.
Thanks for stopping by today!


Comments
Post a Comment